Pond Liners

Option 1

Pond Liner – Material Supply Only

Benefit:

Prefabricated panels significantly reduce the amount of welding on site and wastage, which can be cost and time effective to the contractor.

Impermeable Geomembrane liner is cut to size in-house and heat welded at the seam by our welding technicians who are TWI – CSCS qualified. The Prefabricated Panel is then folded and delivered in panel form to site.

Pond Liner Installation Guide

Ground preparation

Once the initial shape has been cut and dug to requirements, a minimum 50mm sand blinding should be spread across the entire surface area, this is to prevent sharps and stones from penetrating the liner during and after install. If required, an anchor trench can be dug around the entire outside perimeter of the pond area, this will stop the liner slipping if there is to be topsoil or back fill going on to the pond. Steel non-slip pins can be used as an alternative to an anchor trench.

Geotextile and Liner install

Once the blinding is in place, the Geotextile will be rolled into place over lapping each run by a minimum of 200mm, the Geotextile should
cover the entire surface area. The Impermeable Geomembrane liner which is delivered to site in a rolled bale will have a diagram on it to
show where to position the liner prior to unrolling and how to unfold it. Roll the liner out into the formation making sure that the liner is laid flat and without creases, also it should be dressed into the anchor trench or pinned, depending on the requirements.

Note: Do not pull the liner too tight as some slack will be required for the filling process

Any pipe penetrations can be sealed around using the pre- supplied top-hats, which can be made to suit most pipe sizes.

If a top dress or extra layer of protection is required, Geotextile can be rolled out on top of the Impermeable Geomembrane using the
200mm overlaps as before.

Note: Check for creases or folds, these should be pulled out before filling


Option 2

Pond Liner – Full Supply and Installation

Scott Parnell Water Management Ltd to provide full supply and
installation of Attenuation Pond carried out by our welding technicians who are TWI – CSCS qualified.

Benefit:

Includes full Insurances, followed by a Warranty Certificate and an Operation Maintenance Manual upon completion of works.


Reed Bed Liners

In addition to Pond Liners we also offer a service for Reed Bed Liners, using a 1mm PP Geomembrane Liner for supply and installation, or if preferred we can offer a supply only service of material.

Benefit:

Reed Beds are an environmentally friendly way of treating wastewater.

Reed Bed Installation guide

Ground preparation

A brief guide for the installation of reed bed membranes and Pipework connections.

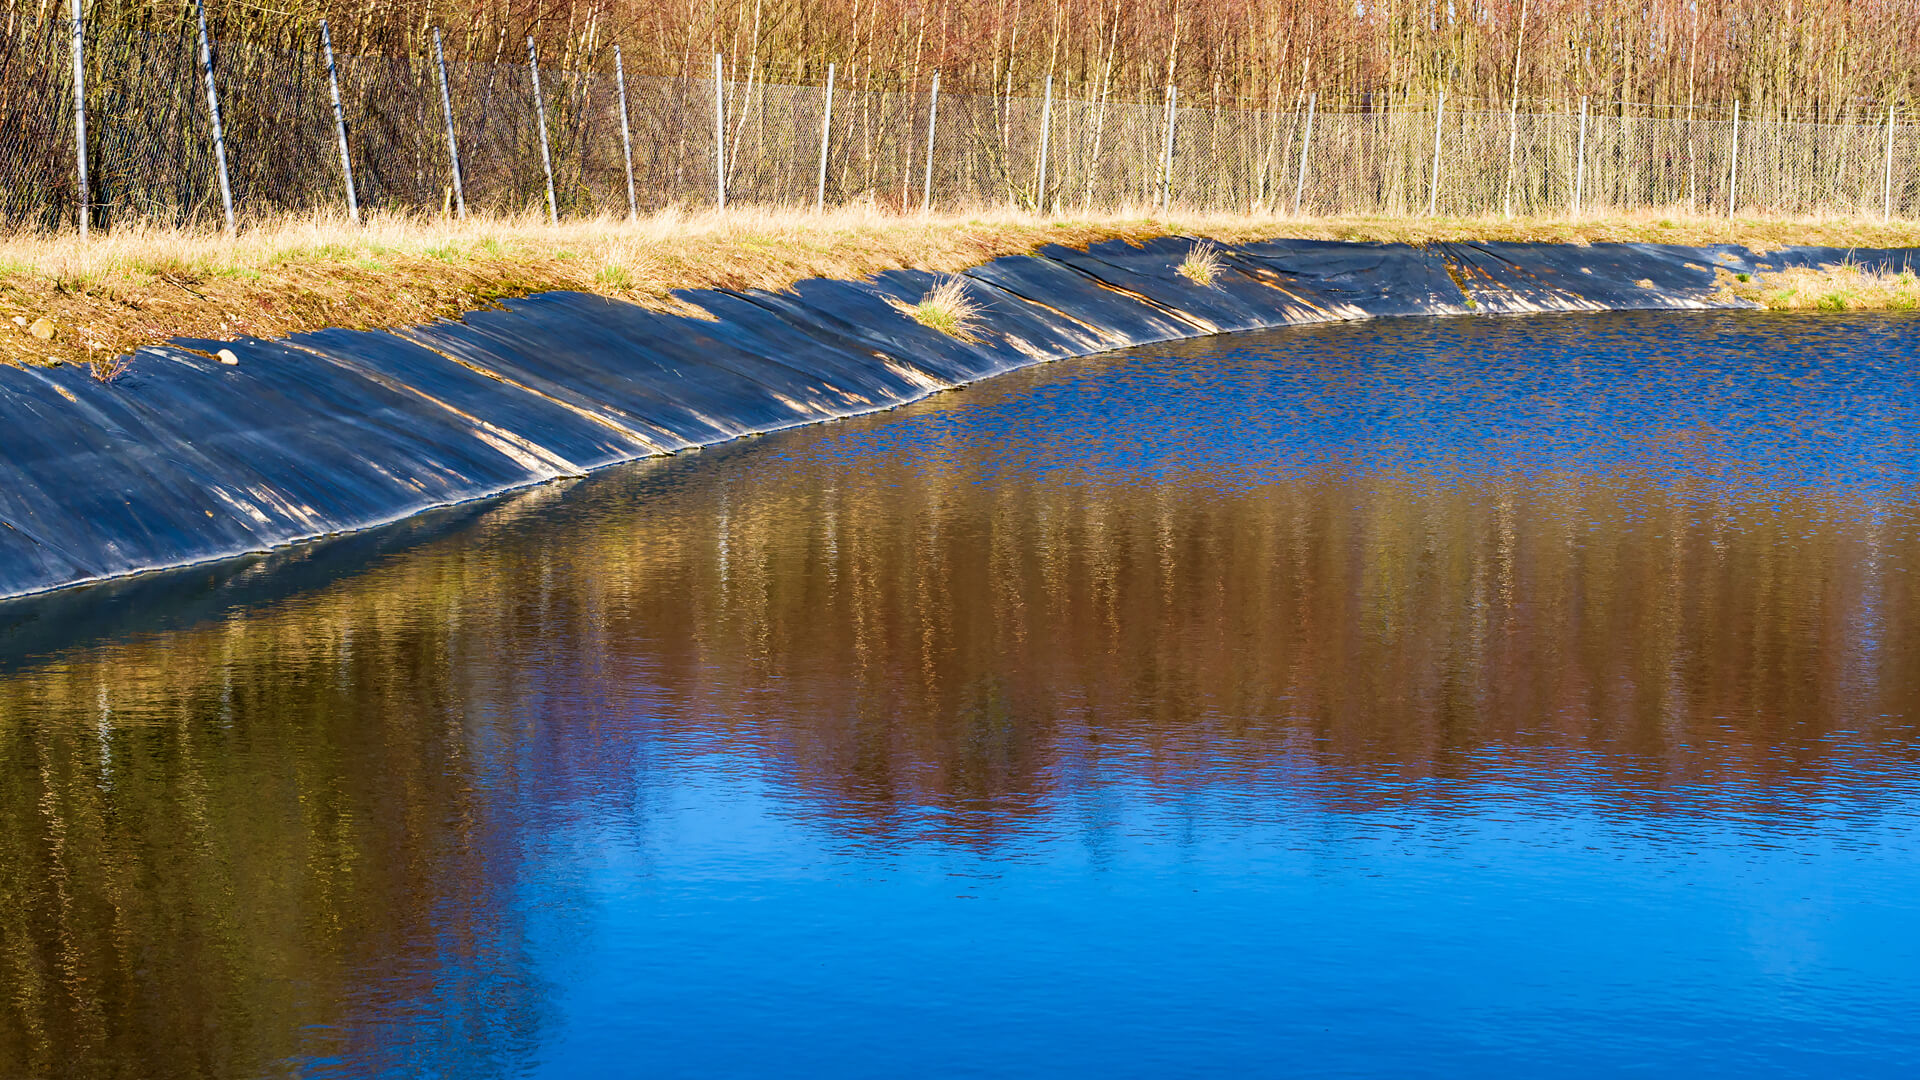
The reed bed installation should be carried out on a suitable sub-base as set out in the Method Statement. The area for lining should be clean, dry, free from sharps and anything that could protrude through the liner. The sides of the reed bed should be battered back smoothly, and the base area covered with a sand blinding to a minimum of 50mm cover. Around all pipe penetrations the pipe must extend a minimum of 500mm to allow for correct sealing using the correct sized top-hat.

Liner Installation

(Using an Impermeable Membrane and a Geotextile protection layer)

Once satisfied with the area preparation a 300g Geotextile will be rolled into place. It is good practice to do the base area first, followed by the sides. The Geotextile must be overlapped by 200mm and tacked into place using a hot air gun, this will stop the Geotextile moving during the unrolling of the membrane.

The Reed bed liner should be positioned on the excavation as per the unfolding instructions which will be drawn on the liner. Roll out the membrane and unfold until the entire area is covered, taking care to remove any excess folds or creases.

Pipe Penetrations

Around pipe penetrations, the membrane must be cut so the liner lays flat over the pipework. The top-hat sections can then be place over, checked for a correct fit and marked ready for welding. With the membrane and top-hats marked, pull the liner back onto the flat area sealing the top-hats to the membrane using double-sided tape with a 50mm hot air welded seam. The liner can be put back into place along with the top-hats. These are sealed to the pipe work using 150mm wide single-sided tape, ensuring that 75mm is on the sleeve and 75mm is on the pipework respectively. Jubilee clips will be used to create a further seal, two per pipe penetration. Final checks shall be made to the area to ensure everything is sealed.

Protection layer

The corners of the reed bed should be folded in with one neat fold that follows the contour of the battered edges. A final layer of
Geotextile can be used to cover the membrane, again allowing for a 200mm overlap and tacked into place to stop shift during the
aggregate back fill.

Quality assurance

During the entire work process photographs must be taken, and a seam weld quality assurance form will be completed for all welds and joints.


Penetron® is an exciting new innovation to protect concrete structures such as: Reservoirs Sewage & water treatment tanks Tunnels Foundations Subway systems Swimming pools Pre-cast components Find out more here: bit.ly/2R3oNVk pic.twitter.com/JgM38mrX1G

About 4 years ago from Scott Parnell Ltd's Twitter via Sprout Social